Main menu
You are here
How to install and setup Windows 2008 Server Core
How to install and setup Windows 2008 Server Core

A Windows 2008 Server Core installation can be a bit tricky if you are not used to using the command line. There are a few things to remember before installing Windows Server Core onto a computer:
- You cannot upgrade a previous version of Windows Server, such as 2003, to Server Core installation. You must perform a clean install.
- You cannot upgrade a Server Core installation to the full version of Windows Server 2008. If you need the GUI interface, an Internet browser, or a server role not included with Server Core, then you must perform a clean install of Windows Server 2008.
It’s actually pretty easy to install Server Core onto a computer. Pop in the CD, boot to the media, and choose Install Now when the dialog appears.
Make sure to pick the Server Core edition of Windows Server 2008.
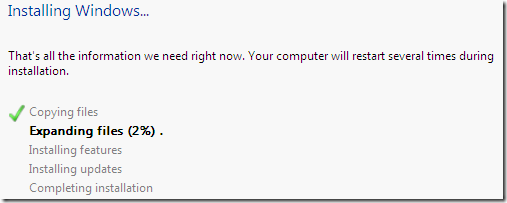
You’ll have to accept the License Agreement and choose which disk you want to install Server Core onto. Now you’ll see the setup dialog installing Server Core.
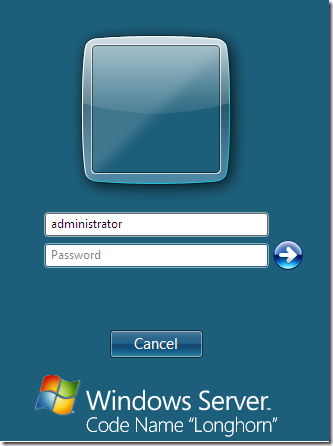
Once setup completes, you have to manually set the Administrator password. Press CTRL + ALT + DEL, click Other User and type in Administrator for the user name. Leave the password blank and press Enter. You’ll be prompted to enter a new password for the Administrator account.
If, for some reason, you login without setting a new password, you can manually set the local Administrator password using the command line. Here is the command:
net user administrator *
Now that you have set the local admin password, you need to activate the Server Core install. Note that if you close the command prompt in Server Core, you will not be able to manage the server. You can recover the command prompt by pressing CTRL + ALT + DEL and clicking on Task Manager. Then click File, Run and type in cmd.exe. This will bring back the command prompt in Server Core.
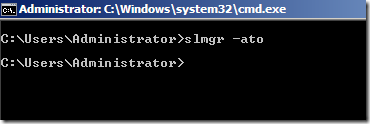
To activate Windows Server Core, type in the following command at the command prompt:
slmgr ““ ato
You’ll get a pop up window once Server Core is fully activated. The computer gets a random name during the install, but you can change the name of the computer in Server Core by using the following command:
netdom renamecomputer %computername% /NewName:newname
The only thing you have to replace in the above command is “newname” with the name that you want to rename the Server Core computer to.
By default, Server Core gets an IP address from a DHCP server. If you can configure a static IP address for Server Core, but I’ll write about that in another post. To join a Server Core computer to a domain, type the following command:
netdom join <ComputerName> /domain:<DomainName> /userd:<UserName> /passwordd:*
You’ll be prompted to enter the password for the domain user account that has permission to join a computer to the domain. Once joined, you can restart a Server Core install computer by typing in this command:
shutdown /r /t 0
Finally, if you want to configure a firewall on Server Core, you can use the following netsh command:
netsh advfirewall
An easier way to manage the firewall is to enable remote management of the Server Core firewall by typing in:
netsh advfirewall set currentprofile settings remotemanagement enable
Now you can use the Windows Firewall snap-in from Windows Vista or Windows Server 2008 to connect to the Server Core installation and remotely manage the firewall.
I’ll write up another post later on how to list server roles and install server roles in a Windows Server Core installation. Enjoy!
source: helpdeskgeek


