Main menu
You are here
Apply Lighting and Shining Effect photoshop cs5
Apply Lighting and Shining Effects to an Image in Adobe Photoshop CS5
In this tutorial, I’m going to show you how to add lighting and shining effects to an image using Adobe Photoshop CS5 techniques. Layered PSD file included. Let’s get started!
Final Image Preview

Create a new document (Ctrl+N) in Adobe Photoshop CS5 with the size 768px by 1024px (RGB color mode) at a resolution of 72 pixels/inch. Use the Paint Bucket Tool (G) to fill with black color the new background layer.

Now choose the Rectangle Tool (U) and represent a rectangle as it is shown below:

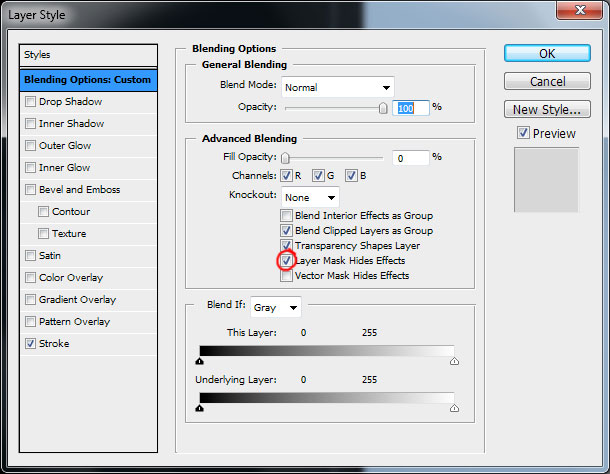
Set the Fill on 0% on the Layers panel, right click on this layer and select Blending Options. On Advanced Blending section select Layer Mask Hides Effects.
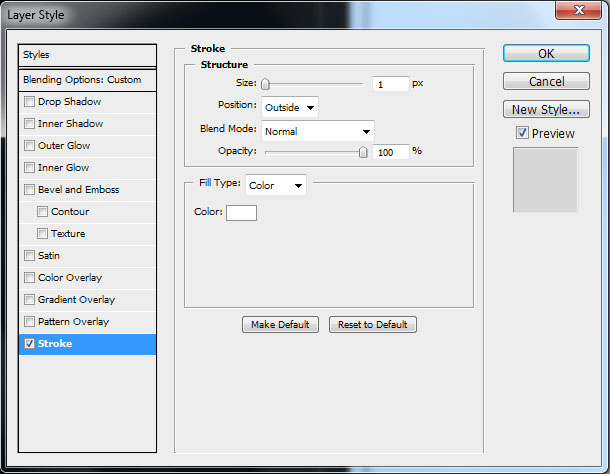
Next add Stroke as it is shown below:
Make sure the rectangle’s layer is active and click on the bottom part of the Layers panel on Add layer mask icon. Select the Soft Round Pressure brush of black color from Brush Tool (B). Set Brush size to 200px and Hardness to 100% in Options bar. Use this brush to paint in the mask as it is shown below.

It’s the result we should get:

Make a copy of this layer Ctrl+J (Duplicate layer) and re-size it, applying the object’s transformation Ctrl+T (Free Transform).

Find a stock photo with a model represented on it, I used this photo from deviantart. I would like to thank the author of this photo, or if you prefer, you can substitute similar image of your own.

Remove the background using your favorite tools like Pen Tool (P), Magic Wand Tool (W), Magnetic Lasso (L) or even a simple Filter>Extract and insert it on a new layer in our main document.

Create a new layer Ctrl+Shift+N and choose the next brush from Brush Tool (B) with the color #8182BD.

Paint the girl’s head as it is demonstrated next picture:
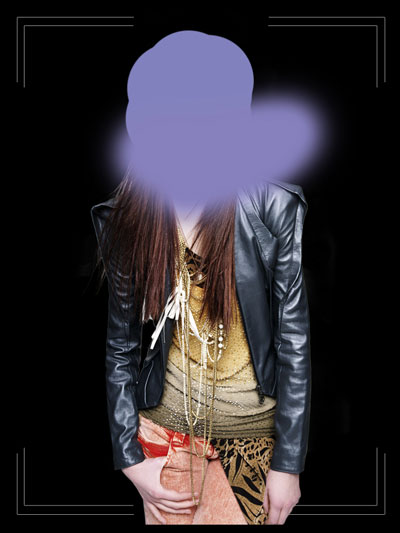
Let’s create a clipping mask to make the content of the layer containing the brushstrokes only visible within the content of the layer containing the girl. Hold down Alt (Windows) or Option (Mac OS) and click between layer with brushstrokes and the layer with girl (on the Layers panel).
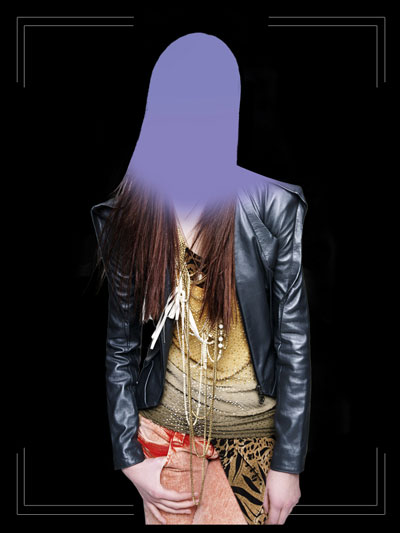
Change the Blending Mode for this layer to Color.

Apply the same procedure with the red color this time #ED1C24 and create a clipping mask.
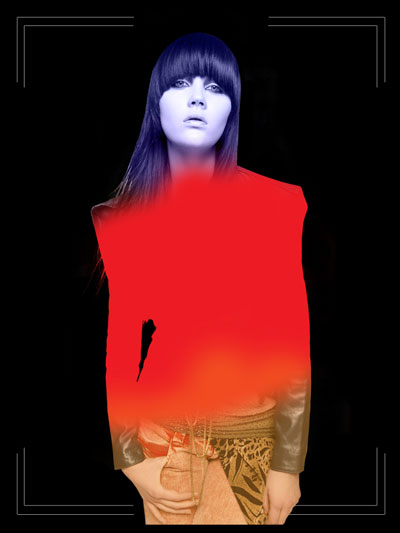
Change the Blending mode to Hue.

Apply the same operation for the next layer, paint with the next color: #D7941D, create a clipping mask and change the Blending Mode to Hard mix. On this layer we have to set Fill to 40%.

Click Create new fill or adjustment layer from bottom part of the Layers panel and select Hue/Saturation.
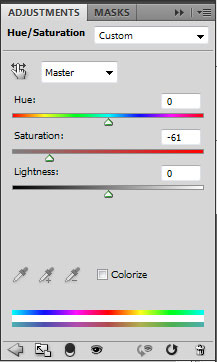
Drag the slider to the left to decrease the Saturation of the color range. Using this operation we can minimize the color intensity.

Select once again Create new fill or adjustment layer from bottom part of the Layers panel and click to Curves to adjust the curve shape as shown to make a little color corrections.
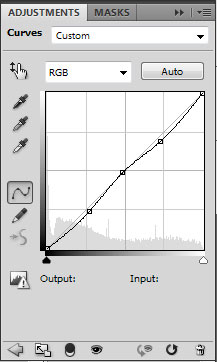
We’ve got the next effect:

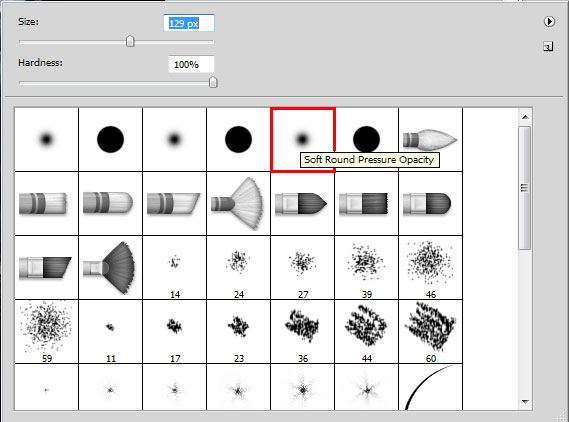
Select the next Soft Round brush of black color from Brush Tool (B):
Use this brush to paint the girl’s lowest part on a new layer:

Use again the Soft brush of white color.
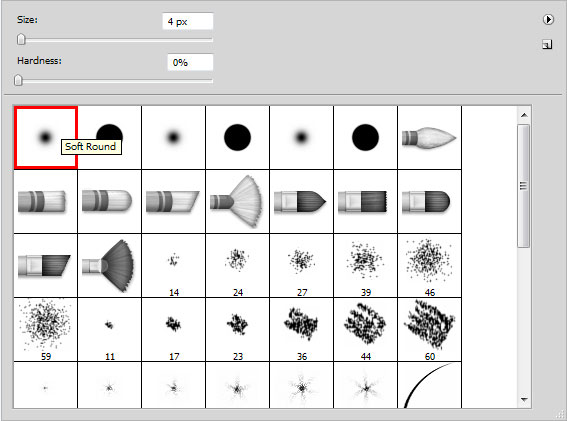
Next we have to add some stars on a new layer, using different brush’s size. You can change the Brush size using [ and ] keys on the keyboard.

Now we have to change the brush’s size, select the #ec008c color and make smaller the brush’s Opacity to 10%.
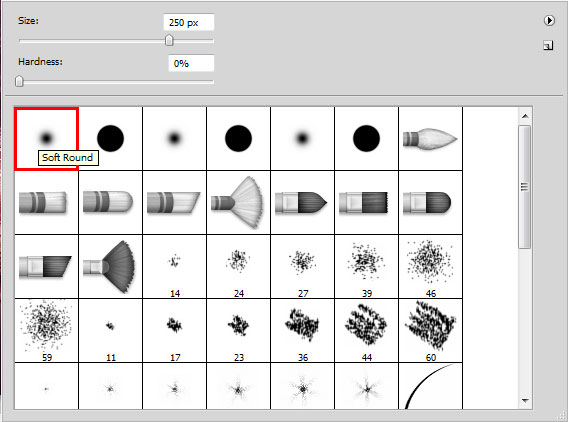
Let’s represent the contour around the girl on a new layer using Soft Round brush:

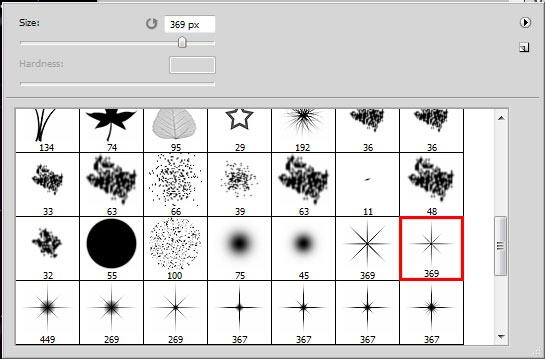
Next step we’ll download a set of brushes for in Adobe Photoshop, named: Lep reflections. Choose the one indicated in the next image:
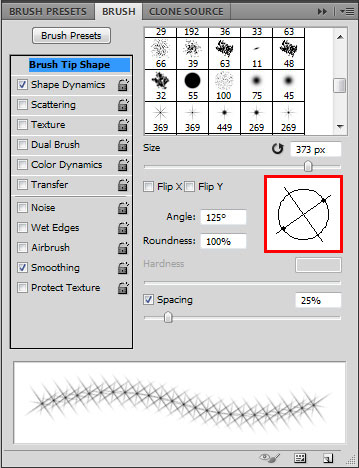
We need to customize our brush in Brushes panel (F5), select the Brush Tip Shape. Click and drag any of the sliders to change the Size, the brush Angle and brush Spacing as show. The Preview window displays the changed brushstroke. Set the Opacity on 40% and select also white color.
On a new layer we have to change the brush’s size, to represent the stars from below:

Make a copy of this layer Ctrl+J (Duplicate layer) and pass on the filters’ menu to add Filter>Blur> Gaussian Blur.
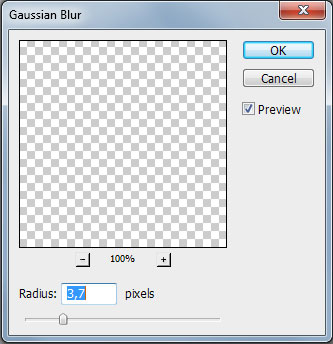
It’s the effect we should get for the picture:

Click Create new fill or adjustment layer from bottom part of the Layers panel and click to Curves to adjust the curve shape as shown to make a little correction of the contrast.
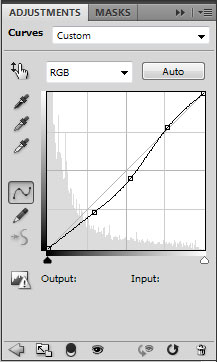
We’ve got the next effect.

Go to the Layers panel and move the corners layers under Curves adjustment layer as shown:
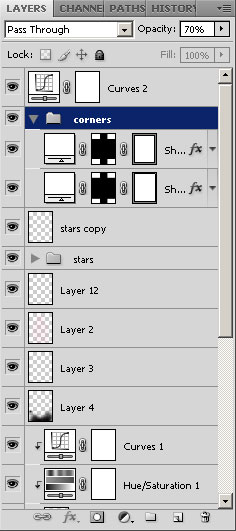
We’ve got the next result:

Source : tutorialized xD

